How to apply the Freegluc Pet CGM
1)Application preparation/Préparation de l’application

Step 1: Choose an application site that generally stays flat with minimal bending or folding the skin.
Étape 1 : Choisissez une zone d’application qui reste généralement plate, avec peu de plis ou de mouvements de la peau.
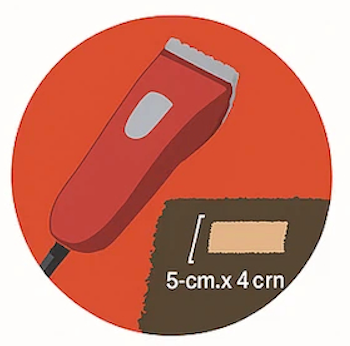
Step 2: Using blade clippers or higher, shave a 5cm by 4cm patch of fur as close to the skin as possible.
Étape 2 : À l’aide d’une tondeuse à lame ou équivalent, rasez une zone de 5 cm sur 4 cm aussi près de la peau que possible.
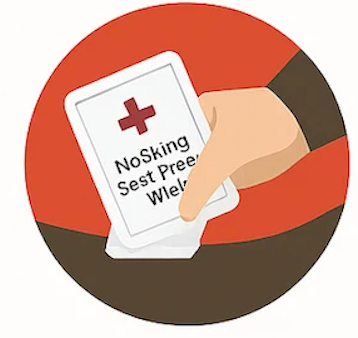
Step 3: Wipe application site with No-Sting Skin-Prep Wipe included in box.
Étape 3 : Nettoyez la zone avec la lingette No-Sting Skin-Prep fournie dans la boîte.
2) Application application
Step 1: Unscrew and remove the bottom cap from the applicator.
Étape 1 : Dévissez et retirez le capuchon inférieur de l’applicateur.
Step 2: Hold applicator against skin and press the circular button. Hold for ten seconds and quickly pull applicator away from the skin.
Étape 2 : Placez l’applicateur contre la peau et appuyez sur le bouton circulaire. Maintenez pendant dix secondes, puis retirez rapidement l’applicateur.

Step 3: Press the sensor and the protruding adhesive pad firmly into the skin.
Étape 3 : Appuyez fermement le capteur et le tampon adhésif saillant contre la peau.
3) Activation
Step 2: Using blade clippers or higher, shave a 2-inch by 1.5-inch patch of fur as close to the skin as possible.
Step 2: Using blade clippers or higher, shave a 2-inch by 1.5-inch patch of fur as close to the skin as possible.
Step 2: Using blade clippers or higher, shave a 2-inch by 1.5-inch patch of fur as close to the skin as possible.
